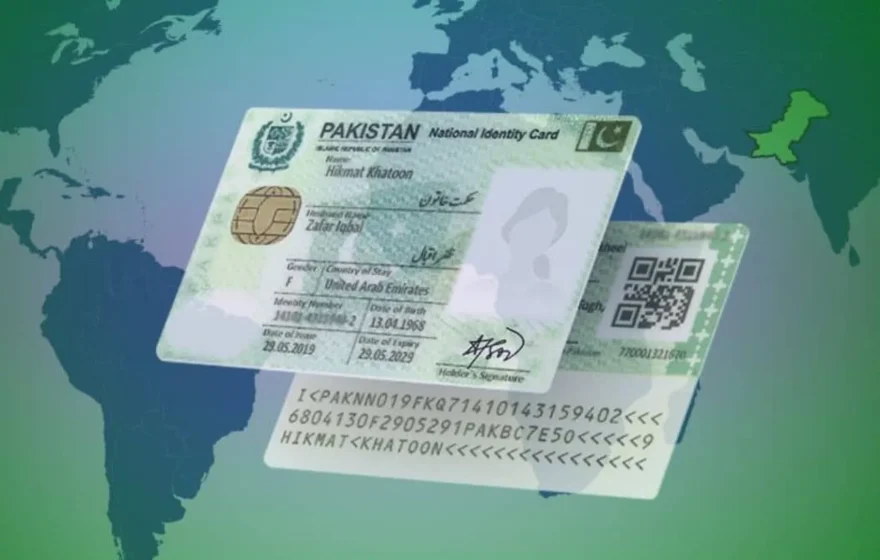
The National Database and Registration Authority has shared a simple procedure for Pakistani citizens who want to convert their Computerised National Identity Card, or CNIC, into a National Identity Card for Overseas Pakistanis, known as a NICOP, before they move abroad. The authority has set out the documents needed, the steps involved, and the fees and waiting times for each processing category, so people planning to leave can sort out their identity documents in advance.
For many families the move is planned months ahead, yet the identity card is left until the end. Anyone holding a CNIC or a Smart CNIC can have it converted into a NICOP by visiting a nearby NADRA Registration Centre with the right documents, and the process follows a fixed sequence from taking a token to collecting the new card.
The NICOP matters because it is the document that proves a Pakistani citizen’s identity and nationality while they live outside the country. A valid NICOP lets its holder enter Pakistan without a visa, even on a foreign passport, and it is accepted as proof of identity for banking, property and other official matters back home. It also recognises dual nationality. A CNIC remains valid, but it is designed for life inside Pakistan, while the NICOP is built for someone living abroad, so sorting it out before the flight means one less problem to solve from far away.
Documents Required to Convert CNIC to NICOP
NADRA has outlined the documents applicants should prepare before visiting a registration centre: bring the existing card and the papers that show where you are going and why. Citizens must carry their current CNIC or Smart CNIC, along with the relevant supporting documents for their own circumstances.
The documents mentioned in NADRA’s guidance include a Pakistani or foreign passport, a residence permit, a work permit, or other relevant travel documents. Applicants should make sure that every document they present is valid and that the information on it matches their existing record, because any mismatch can slow the application down, so it is worth gathering the papers together before setting out.
How to Convert CNIC to NICOP
NADRA has set out a six-step procedure for converting an existing CNIC or Smart CNIC into a NICOP at a registration centre. The visit begins at the reception counter, where the applicant presents the existing card and supporting documents and obtains a token before waiting for their turn.
When the token number is called, the applicant proceeds to the designated counter, where a NADRA representative verifies their identity and begins processing the application. The registration officer then enters the required personal information into NADRA’s system, and this stage also includes fingerprint verification, iris scanning and the capture of a photograph. Applicants should review their details carefully at this point, since correcting an error later takes far longer.
Once the data entry is complete, the officer in charge reviews the application and may ask questions about the applicant’s family information for additional verification. This review is a normal part of the process rather than a sign that anything is wrong.
Once NADRA approves the application, the applicant receives a confirmation message on their registered mobile number, and only then does the fee become payable. The fee is paid online according to the processing category selected, with the amount depending on the country or region and the currency conversion rate. NADRA then issues a receipt, and the new card can be collected from the same registration centre once the processing period has passed. Applicants should keep the receipt safe until they have the card in hand.
NADRA NICOP Fees and Processing Times
Under the authority’s official fee schedule, applicants can choose from three processing categories, and the price rises as the waiting time falls. Normal service takes 31 days and costs 39 dollars in Zone A and 20 dollars in Zone B, while Urgent takes 23 days and costs 57 dollars in Zone A and 30 dollars in Zone B. The fastest option, Executive, takes just 9 days and costs 75 dollars in Zone A and 40 dollars in Zone B.
The two zones reflect where the applicant is based, with Zone A covering countries such as the United States, Britain and Canada and Zone B covering the Gulf region and other countries. The final amount in local currency depends on the conversion rate at the time of payment, so travellers should confirm the exact fee for their country before paying.
The choice comes down to how much time is left before departure. Someone with a month or more to spare can save money with the Normal service, while a family whose flights are already booked may find the Executive option worth the higher fee for the certainty of having the card within nine days. Whatever the choice, the sensible step is to start early, check that every document is valid, and keep the receipt until the NICOP is collected. For Pakistanis about to begin a new life abroad, it is a small piece of preparation that makes every later dealing with home noticeably simpler.
